My first bonsai workshop
This is a very interesting way of growing plants. It's pushing the adaptability of the tree to new heights, where we are making the tree grow with minimal nutrients, and of course it looks really cool to see a mature tree sitting on a pot inside a home.
I got interested in bonsai after watching some videos online just few days back. I loved the way the bonsai looked - the fact that you can have a full grown tree with real features in a pot really got me hooked. I immediately registered for the bonsai workshop and then changed the website saying that I work on bonsai.
The bonsai workshop was conducted by Upvan, which Divya Maurya started more than 25 years back. It began as her hobby and became her business, and she teaches bonsai one to one. I went to her house, she started with the theory lessons on what is required for bonsai, then what is bonsai, then what are the different types of bonsai.
Table of contents
The theory
A bonsai can start in any pot, and it’s transferred to a ceramic pot later. The soil is a mix of red soil, vermicompost or cow dung compost, leca (clay balls), and river sand or white marble chips, in the ratio 1:1:1:0.5, with a handful of neem powder. The neem, she said, was for anti bacterial reasons. She mentioned that river sand is very rare to find nowadays and it’s banned in Karnataka. The tools are aluminium wire and a concave and convex cutter.
Then she explained what a bonsai is. There should be a taper in the main trunk, 1/4th of the trunk from the soil should have no branches, the branches should be alternate - should not be in the same line, the first branch should be thicker and longer than the second branch, and the second branch should be thicker and longer than the third branch and so on, and there is an apex at the top. She used to say that no branch should grow at the same level to each other, if it does then it has to be pruned.
The styles
Divya drew the styles on the notebook and explained it, and pointed to her nursery wherever she had the style of bonsai. A formal upright has a straight trunk, thick at the base and thin at the top. An informal upright has a trunk that curves like an S, with a branch at each curve. A slanting tree leans to one side. A broom has one straight trunk that spreads into a round crown. A cascade bends over the edge and falls below the bottom of its pot. A semi-cascade bends past the rim but stops above the bottom of the pot.
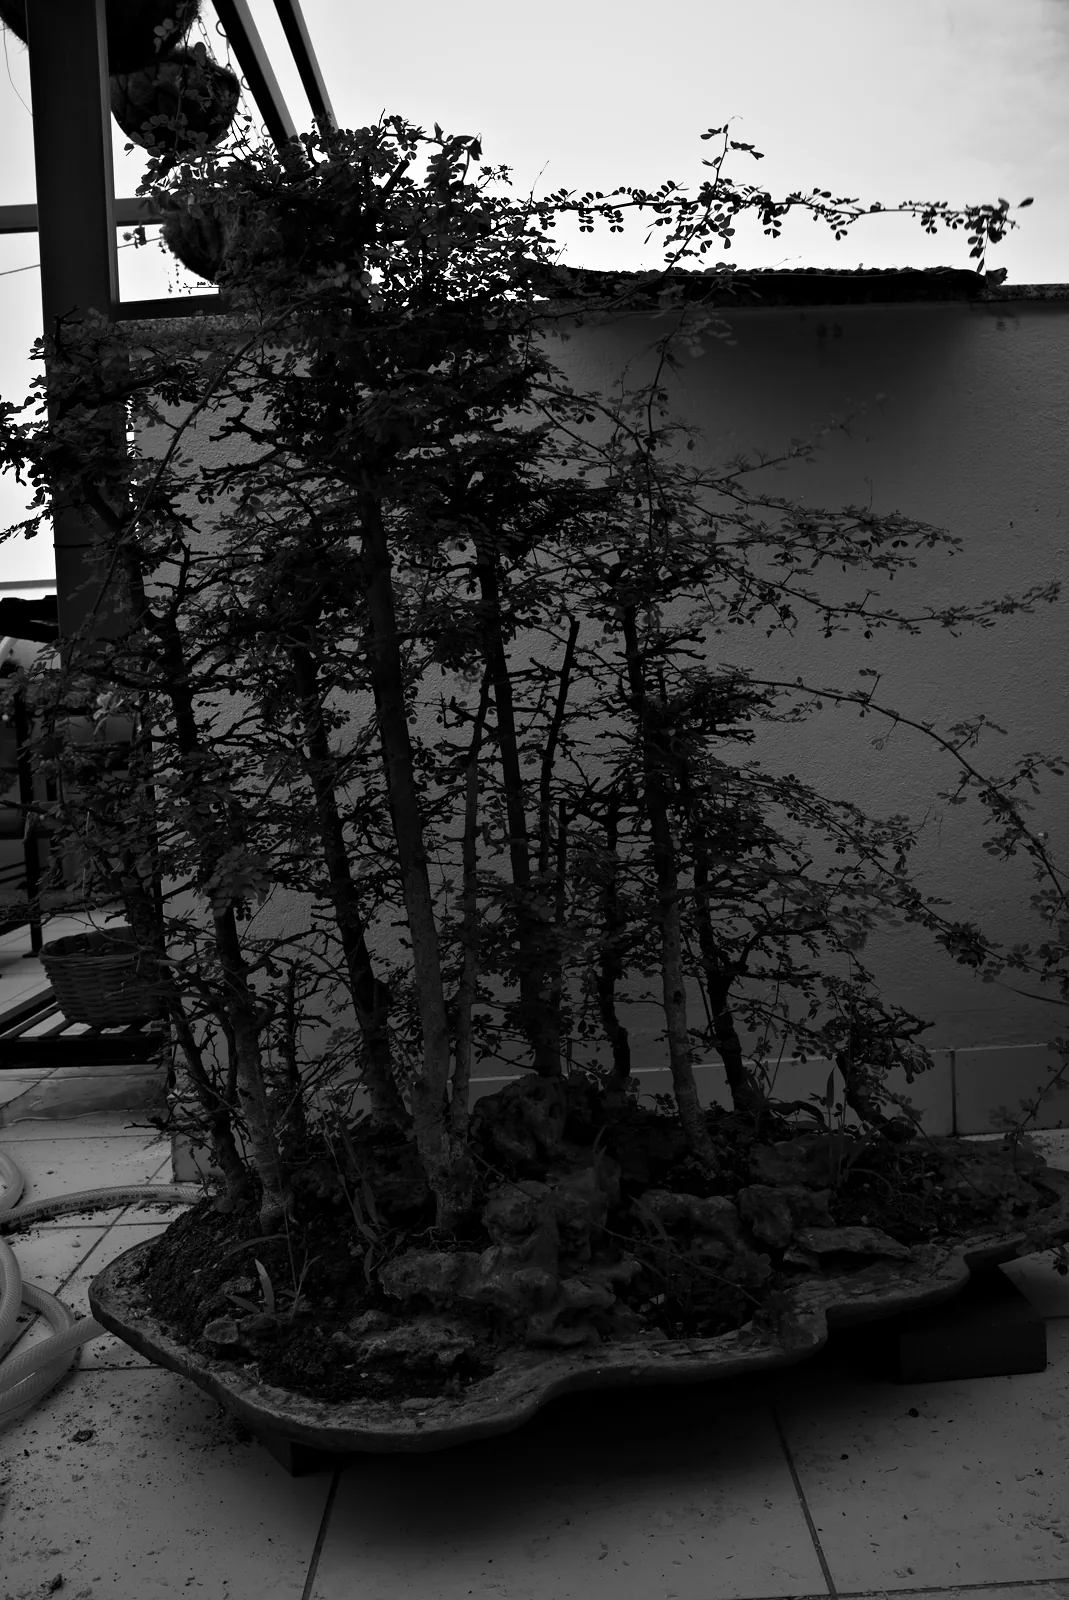
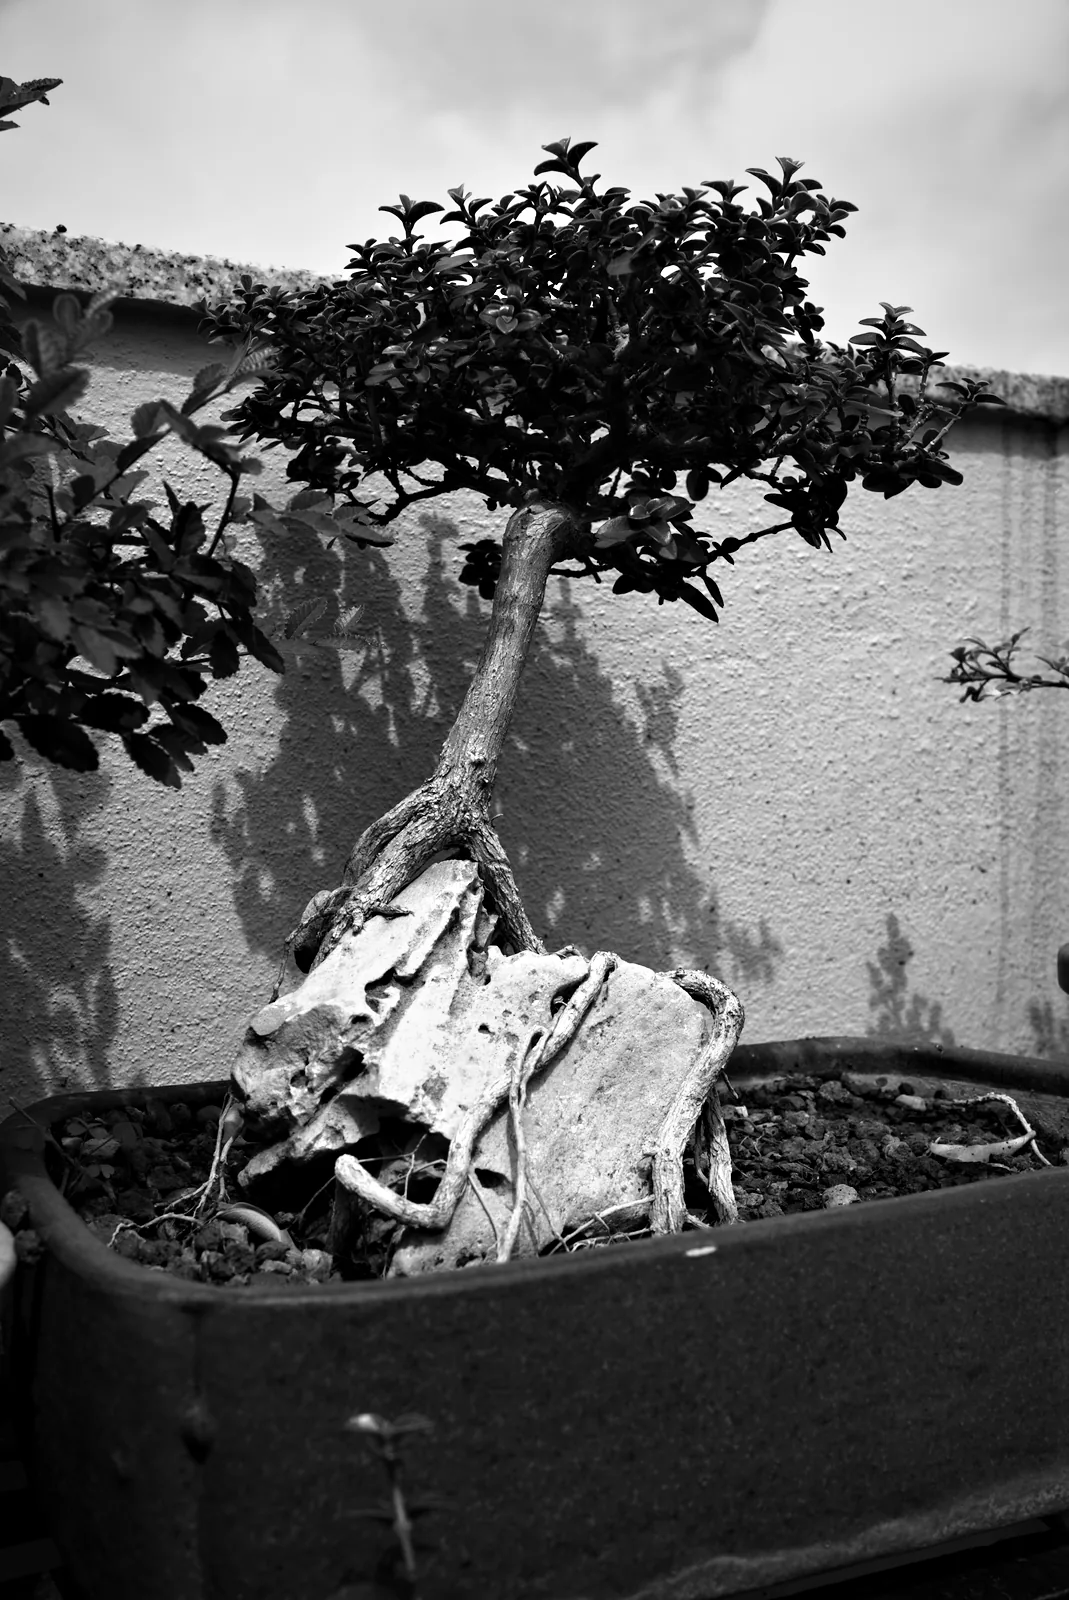
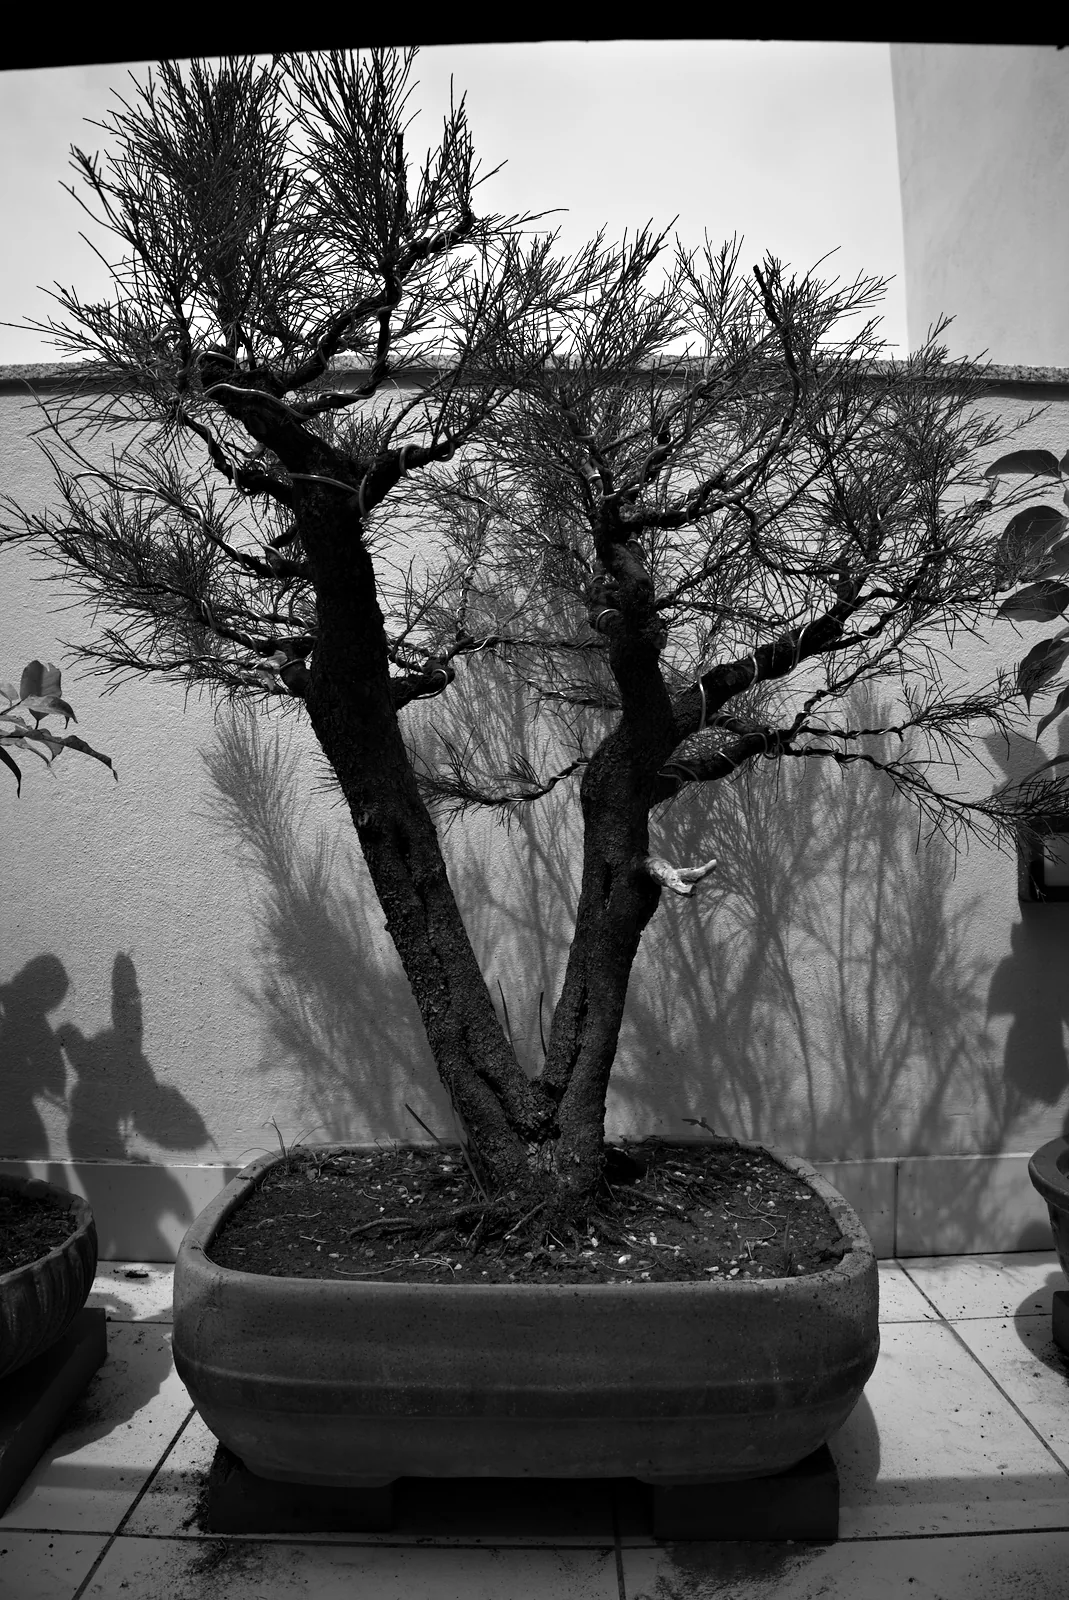
A root over rock has its roots running over a rock and into the soil. A clump has three or more trunks coming from one root. A raft is a tree laid on its side, with its branches grown up into trunks. A bunjin has a long, thin, crooked trunk and branches only near the top. A forest is several separate trees in one shallow pot. A twin trunk has two trunks, one bigger than the other. The twin trunk should have both the trunks shooting from the soil together, not like one main trunk and another branch looking like a secondary trunk.
The terrace
Then we went to the terrace to see the different types of bonsai she had, and she explained it. I really loved the forest style bonsai and the root over rock style bonsai. I liked the forest one because it looked like a mini forest that you can keep in your living space, and the root over rock just looked surreal.
The practical
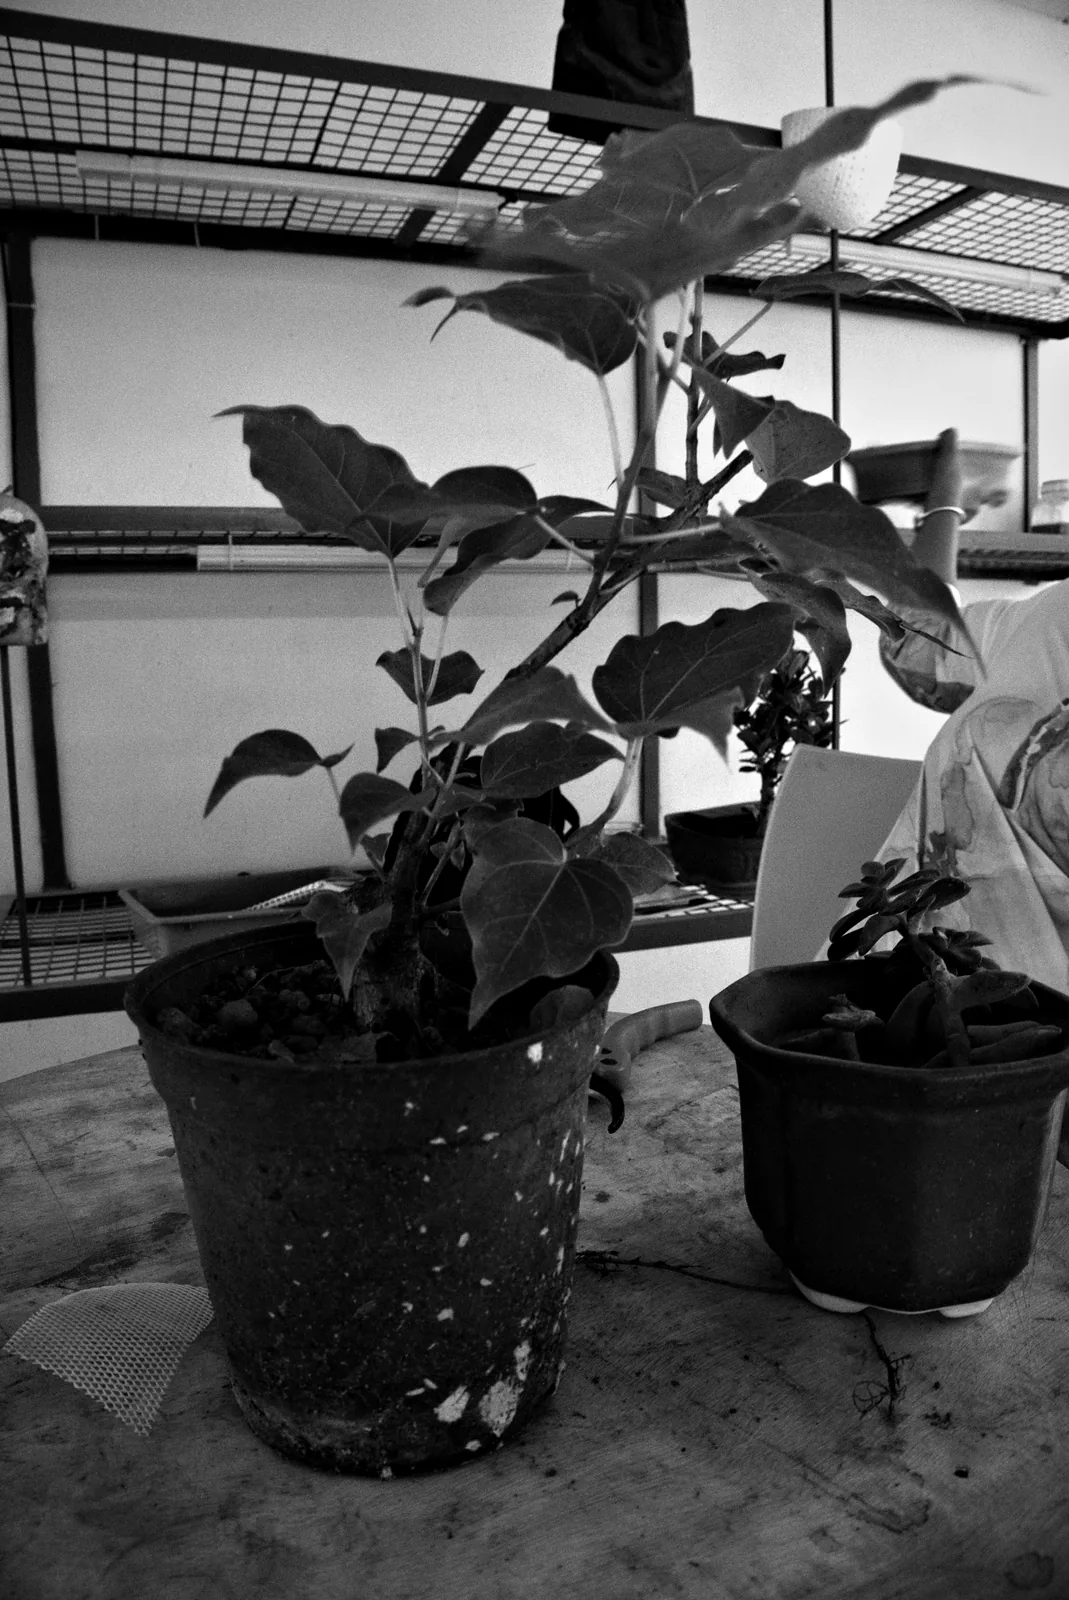
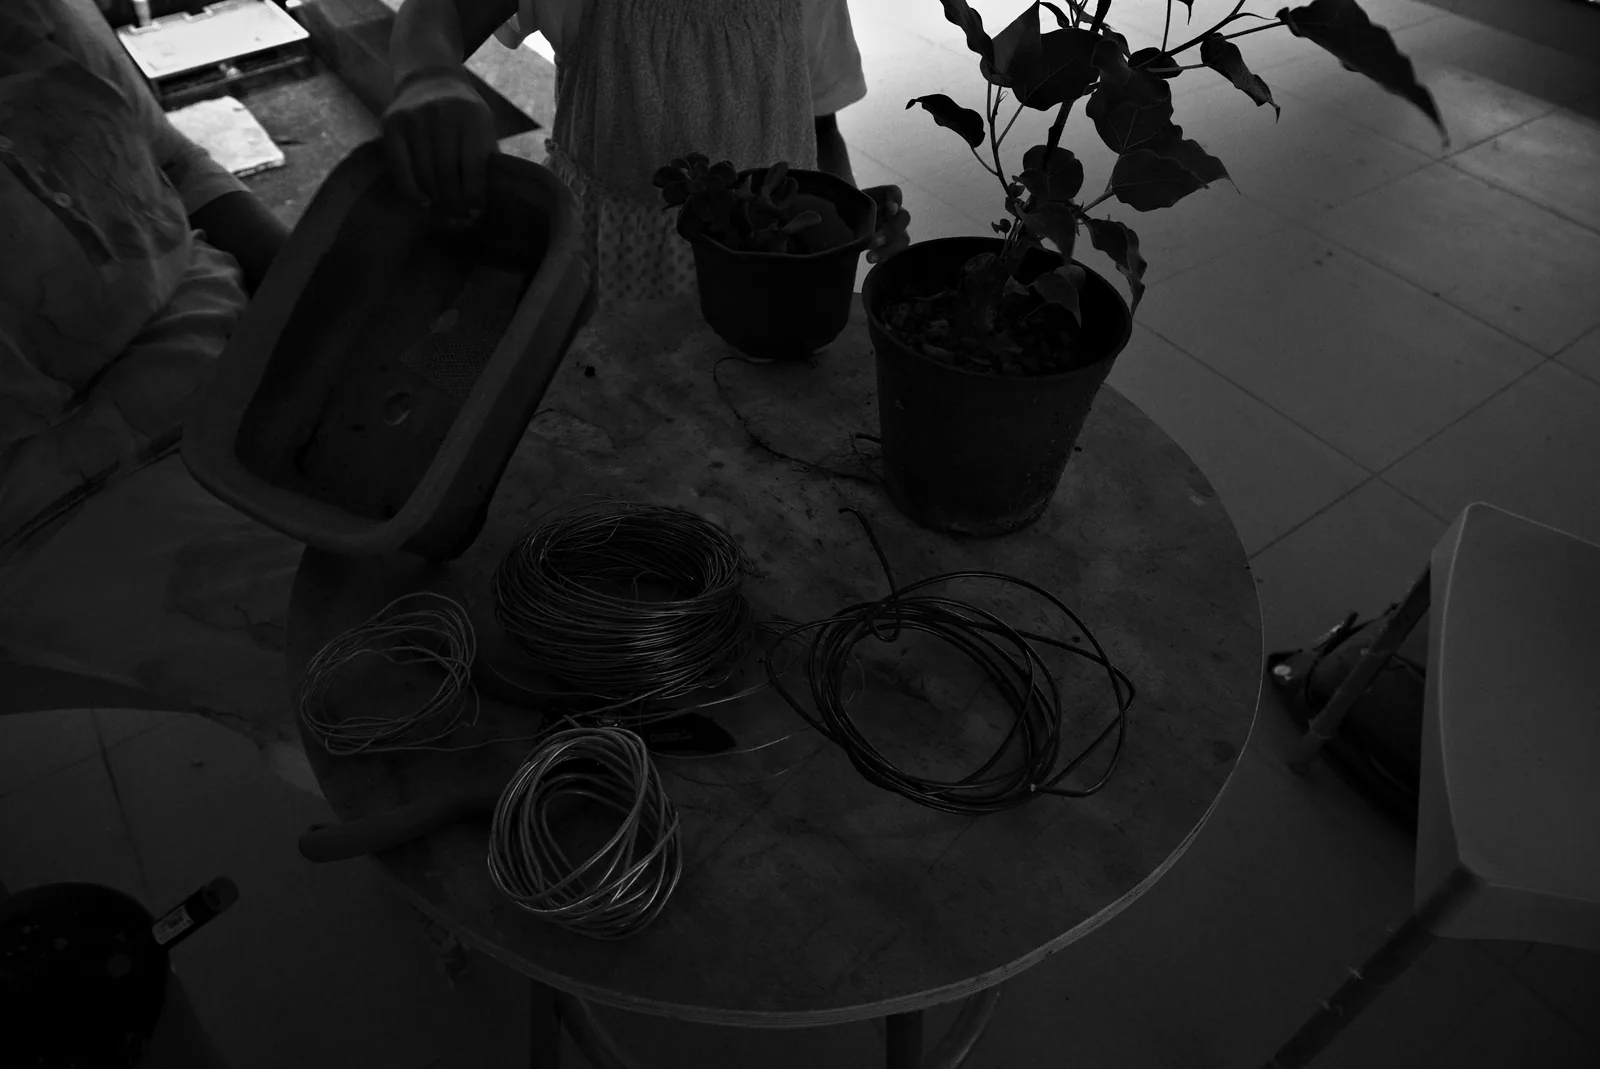
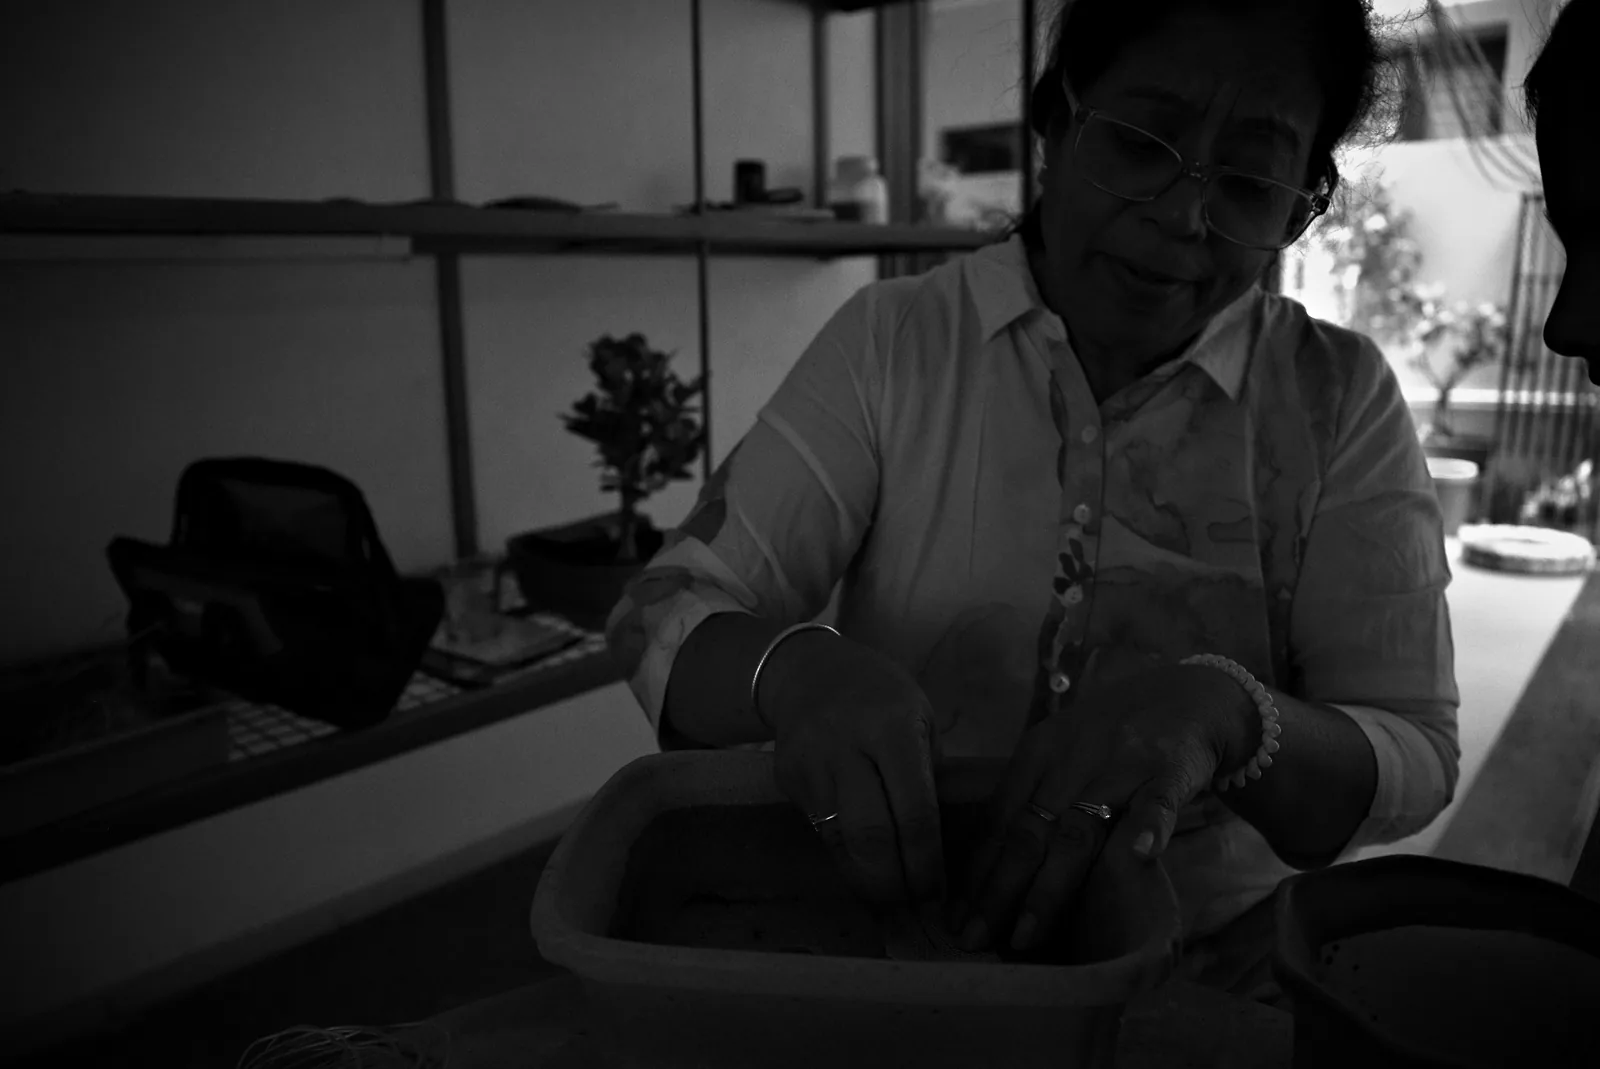
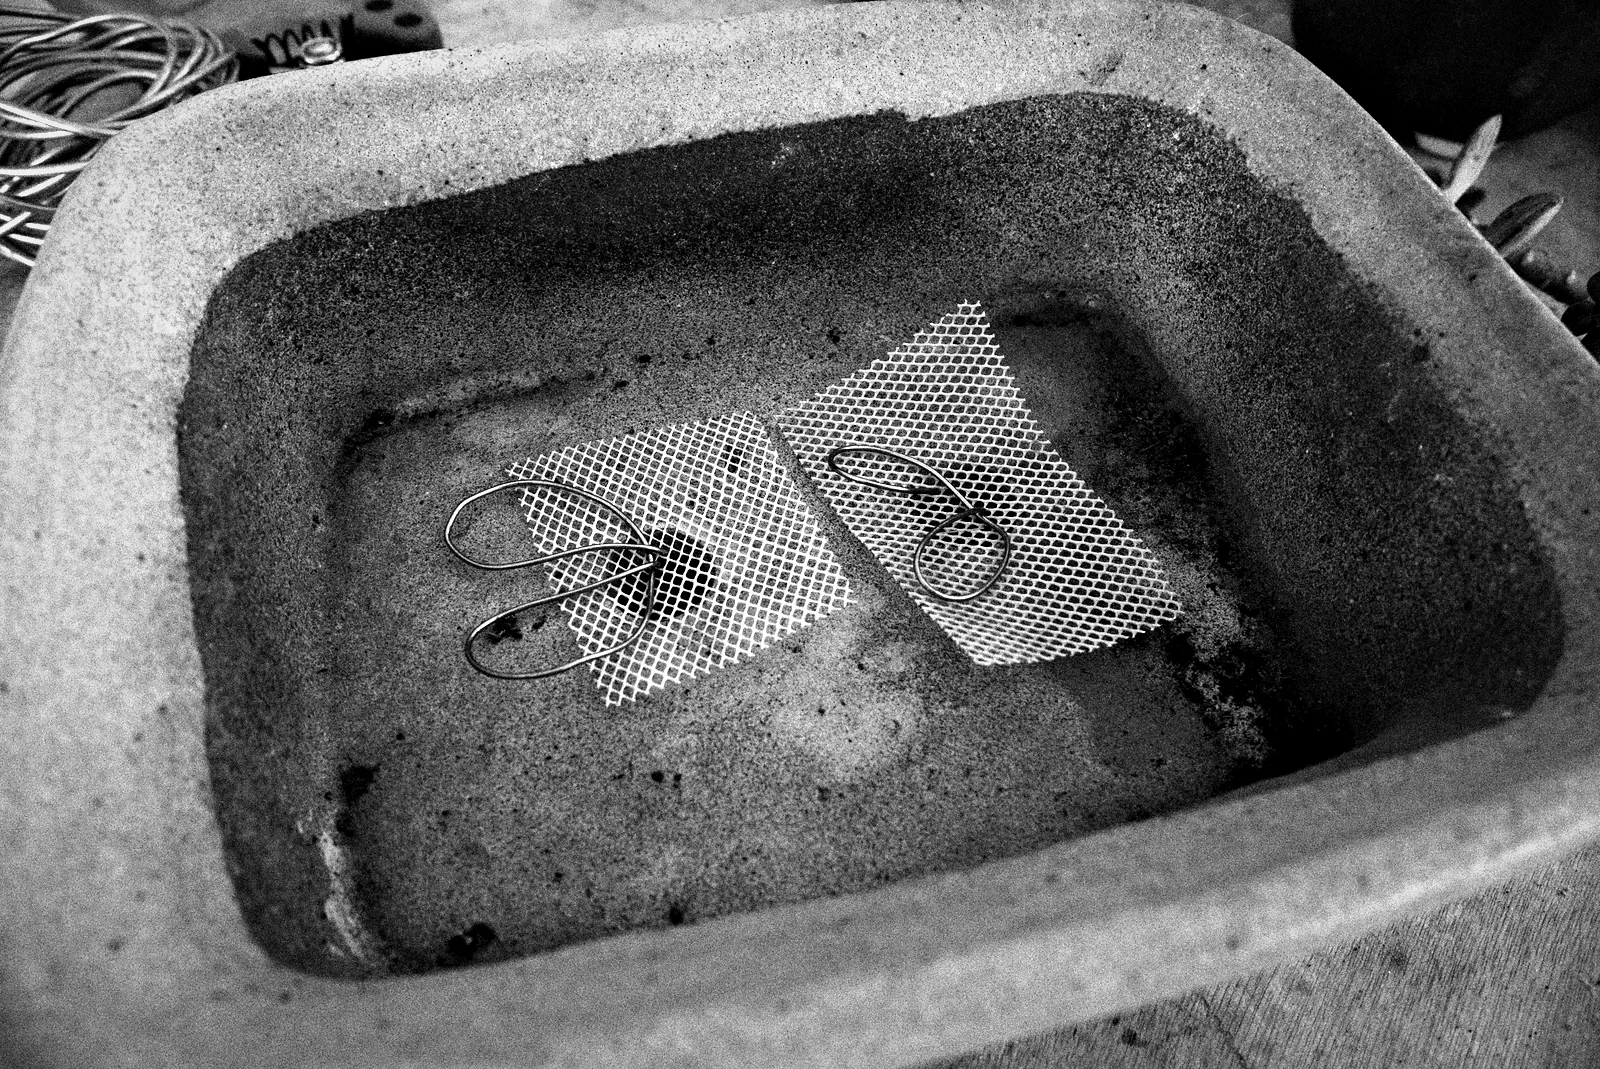
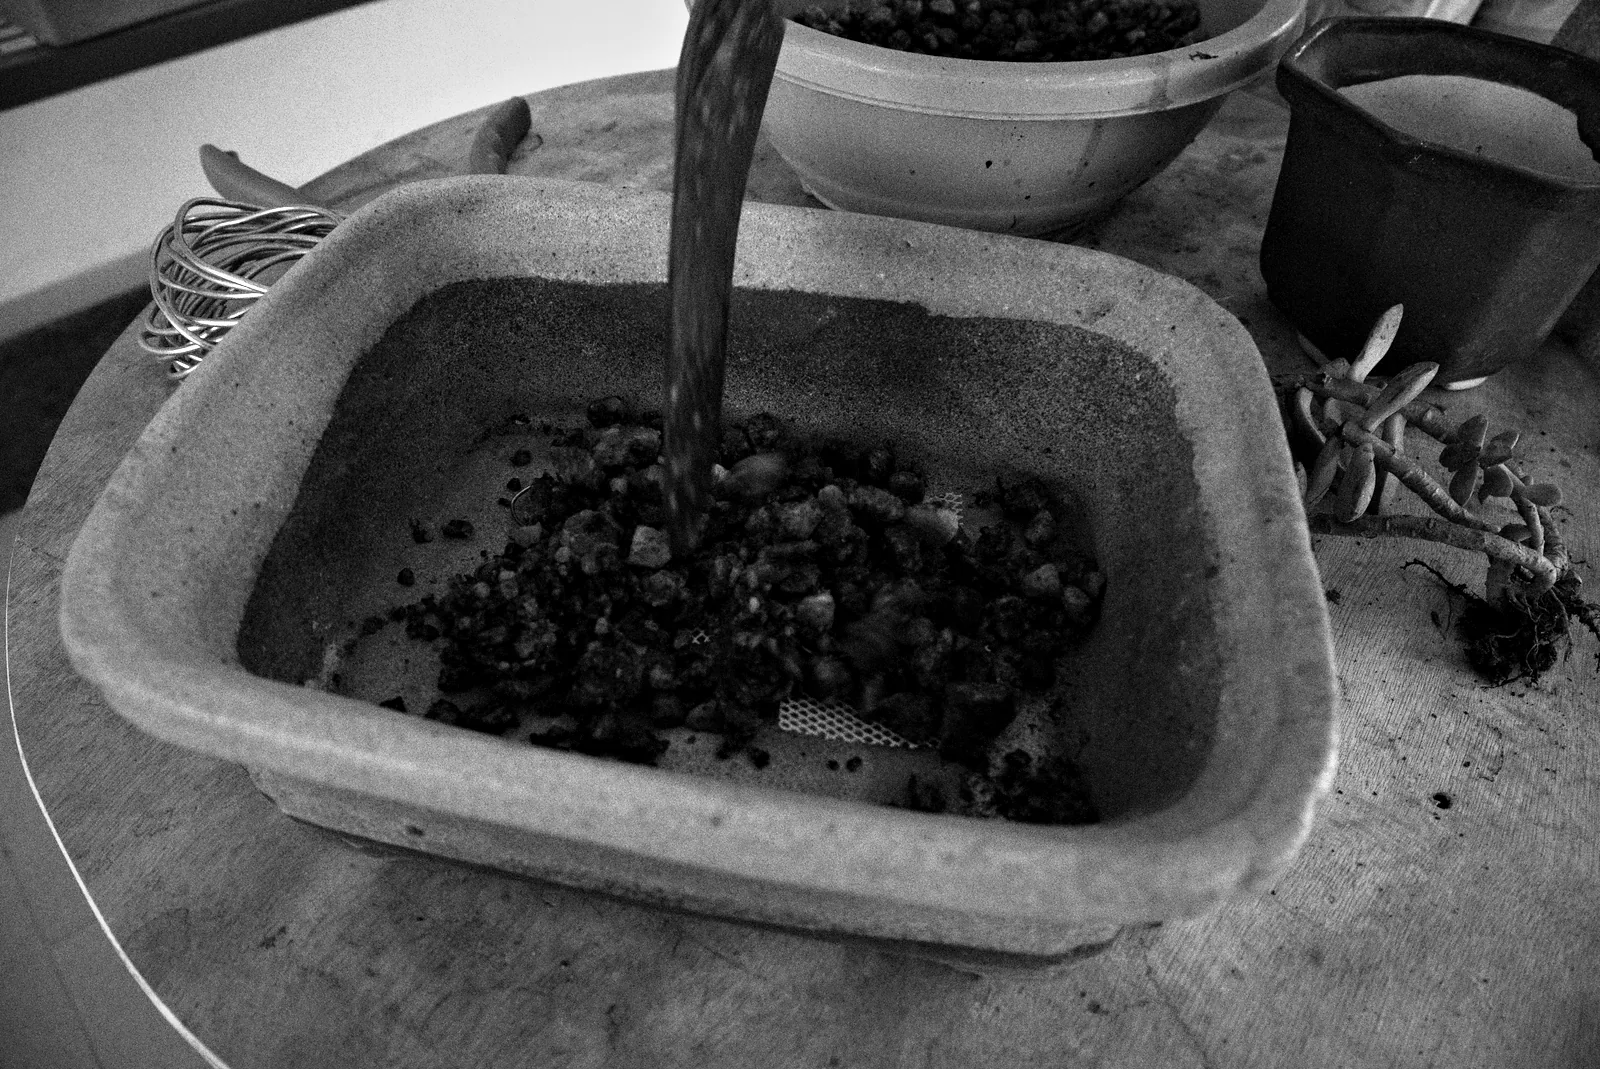
Then we came back to do the practicals. We took a bodhi plant, repotted it into a bonsai pot, put the soil mixture, wired it. It was her choice, and she mentioned that this variety is easy to grow for beginners. It’s a spiritual plant as well, it has a great history behind it.
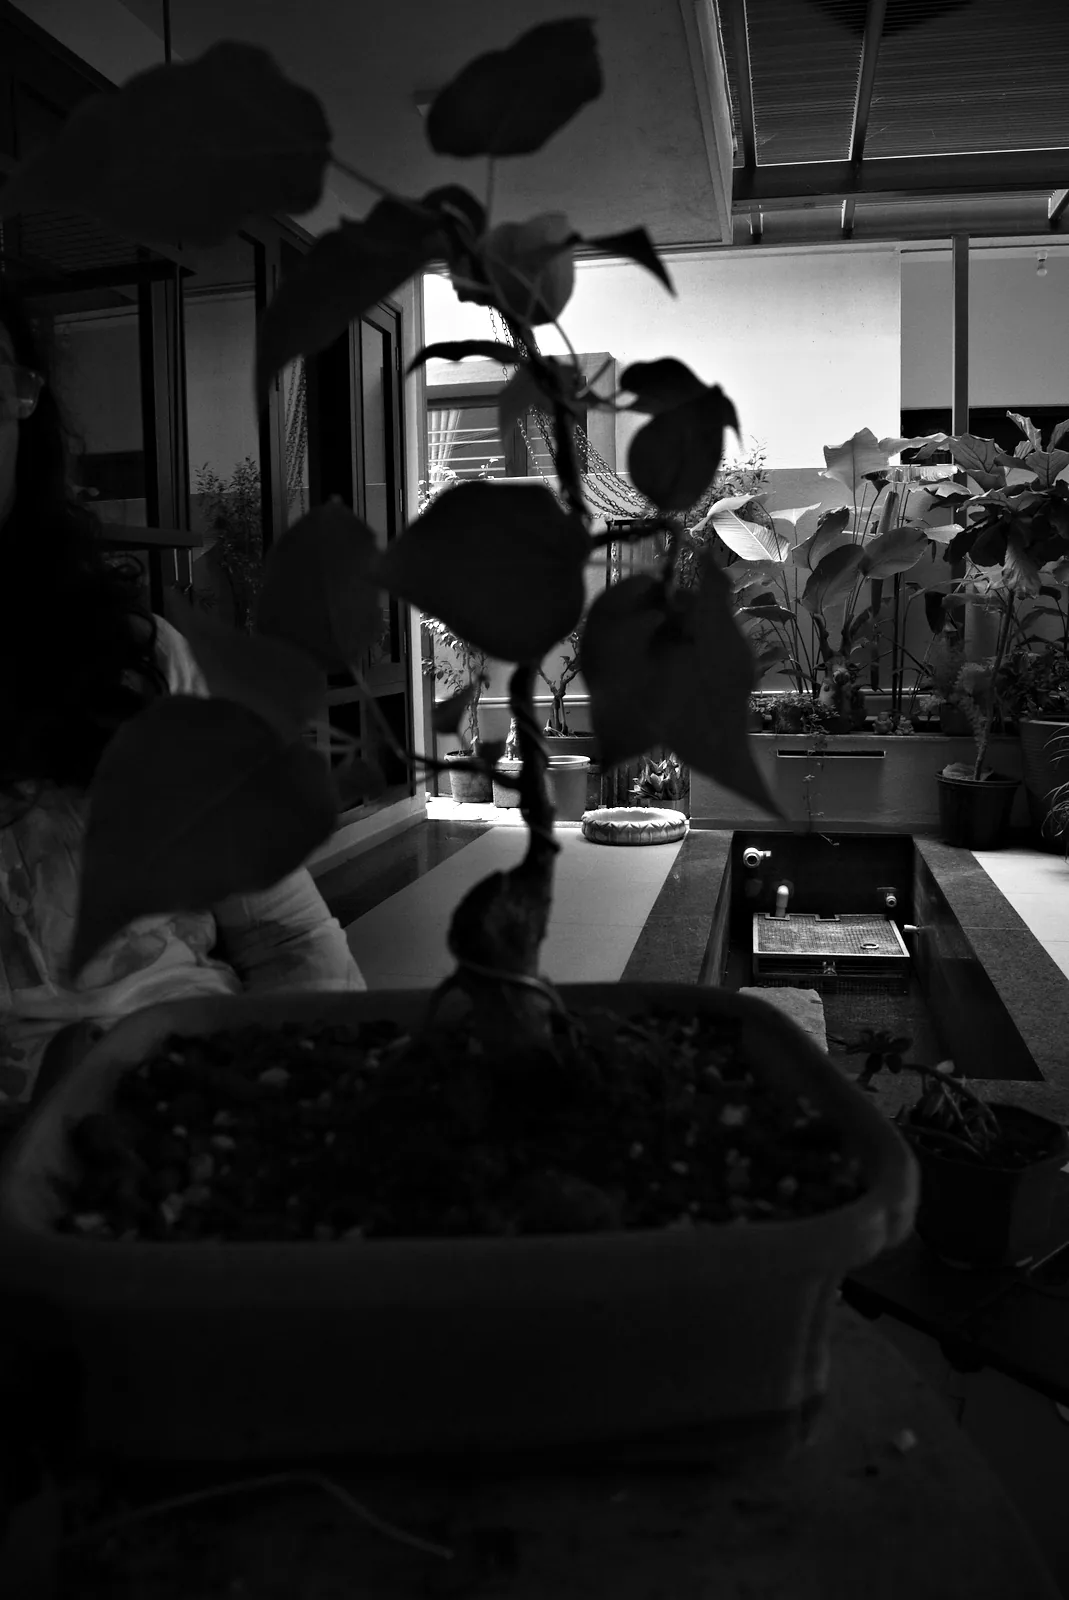
Wiring one on my own
I had a go with the wiring of another plant - this was done all on my own, where she was guiding me. As it was new to me, I was not able to grasp the right way to wire. The instructor was telling me to find an anchor point to start, and then wire the branch, sometimes you could combine two branches if they were together. You also need to visualise how the branches will grow ahead of time and wire them. Starting it I was having a difficult time, but the instructor was kind and patient with me, guided me well. When I got to the last bit of branches in the top, I got the hang of it.
She said I did a very good job with the second one.
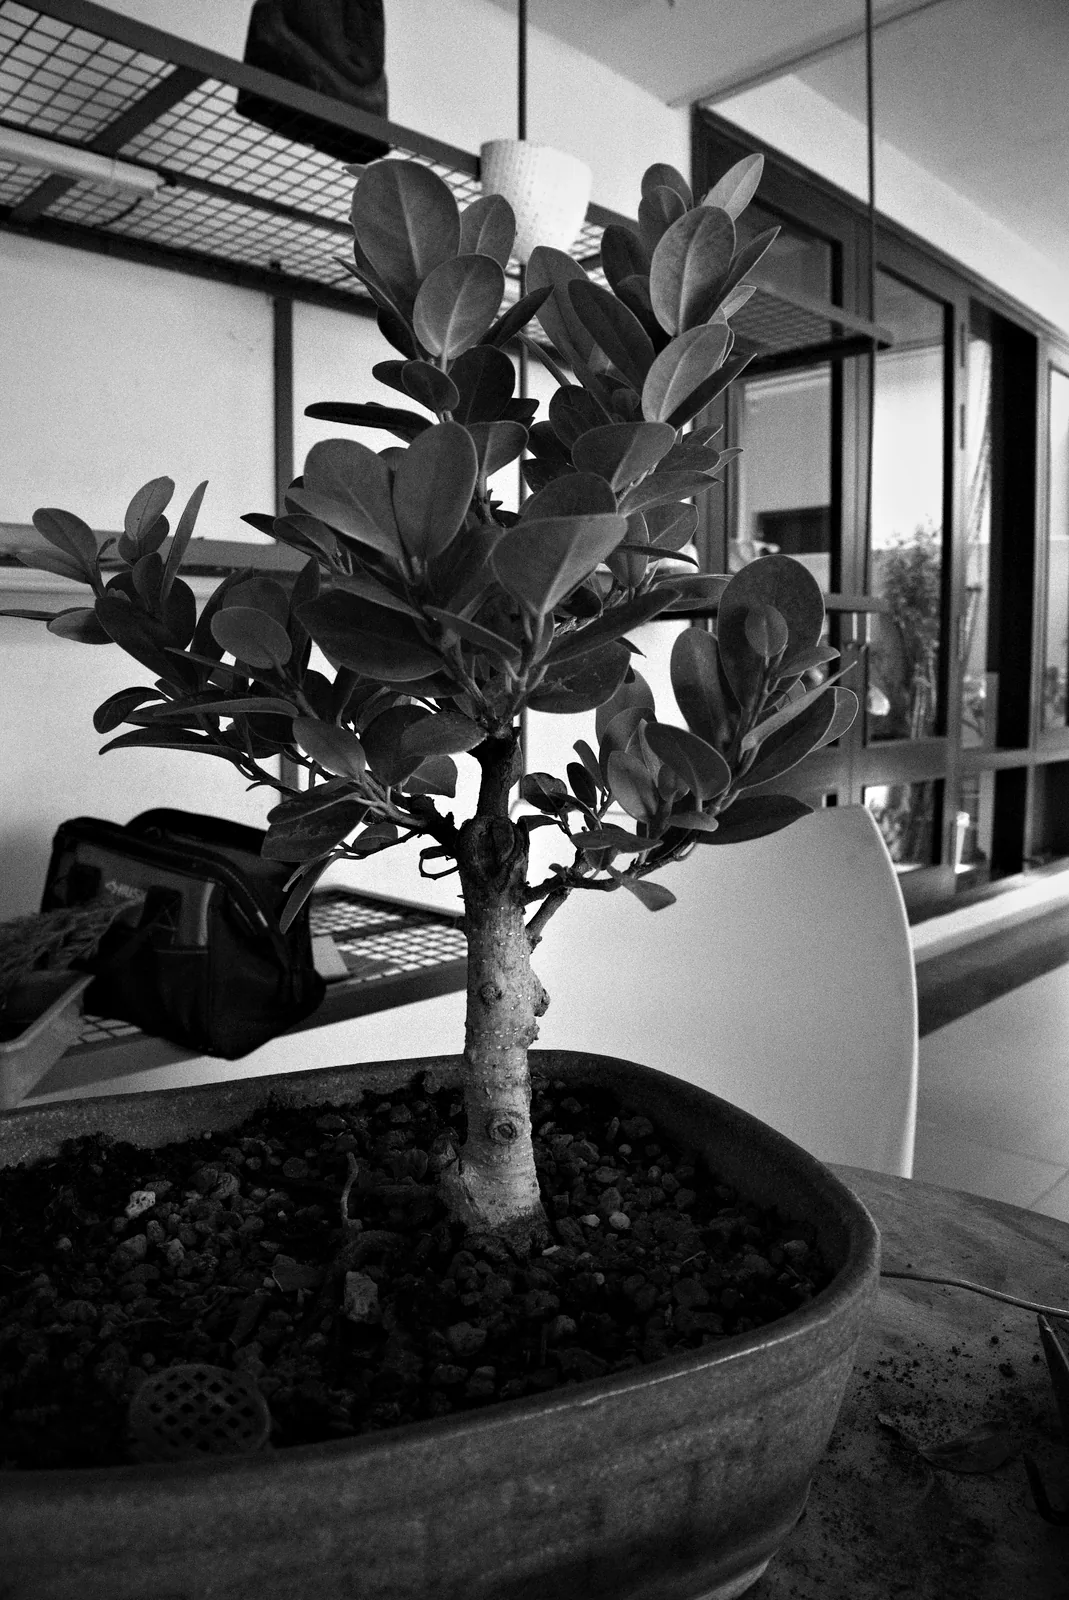
The do’s and don’ts
With that the session concluded, and I was asking her about the maintenance tips, the do’s and don’ts. She mentioned that all the plants are outdoor plants, and it’s better to keep them outside in the terrace. The bodhi plant specifically was to be kept in a shady area for 1 week, and then can be moved to direct sunlight. Water the plant every day, and the wires are to be inspected every month. If the branches are growing well in the same direction, then the wires can be removed, else it will have to be rewired as the wires will leave the mark on the branches. The compost to be added every month. Repotting can be done once in 2-3 years. Double potting can also be done if I want the plant to grow faster.
I got home the bodhi plant from the workshop, the second one was just for practice. The bodhi plant is sitting on my terrace with the other plants. I will be visiting her workshop in a month, to continue my learning journey with the other types of bonsai plants. I would like to try the forest style but I’m not sure if that’s beginner friendly, my guess is that we will be working more on the wiring techniques as she said this is the most important skill to learn for bonsai. I would say this is incredibly easy and fun to get into.